Share


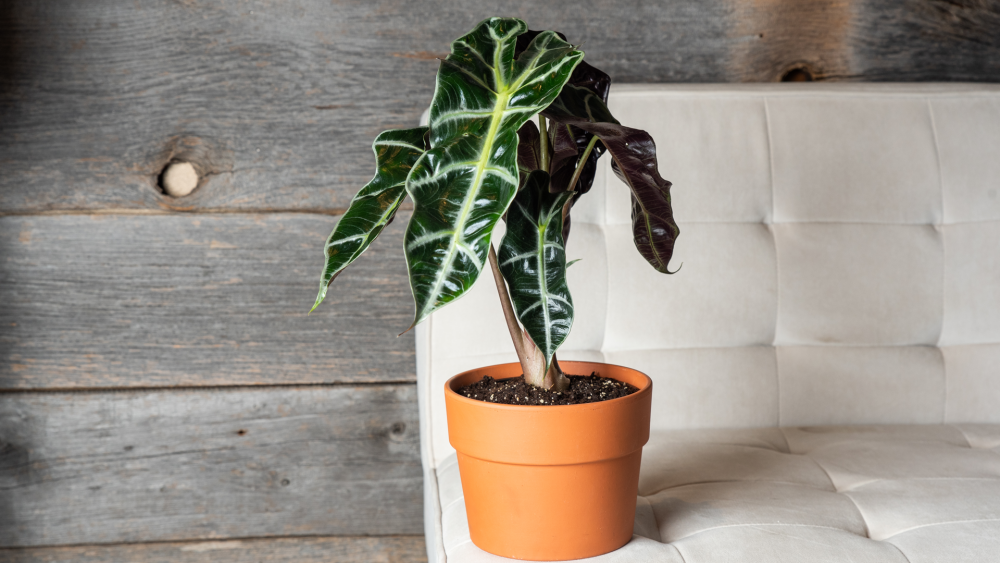
The Alocasia Polly, also known as the African Mask Plant or Elephant Ear, is a striking houseplant that boasts bold, arrow-shaped leaves with deep green tones and prominent white veins. With its unique and dramatic appearance, the Alocasia Polly can be a showstopper in any indoor space. However, it does require a bit of attention to ensure it thrives. Here’s everything you need to know about caring for this beautiful plant.
The Alocasia Polly thrives in bright, indirect light. It prefers to be placed near a window where it can get plenty of light but out of direct sunlight, which can scorch its delicate leaves. If the plant doesn't receive enough light, it may become leggy, and the leaves will lose their vibrancy. If you're unable to provide natural light, you can also supplement with a grow light to ensure it gets the light it needs to thrive.
Watering is one of the most important aspects of caring for the Alocasia Polly. This plant enjoys consistently moist soil, but it’s important to avoid overwatering. Allow the top 1-2 inches of soil to dry out between waterings, but make sure the soil never completely dries out. The key is to keep the soil evenly moist but not soggy. Overwatering can lead to root rot, so make sure the pot has proper drainage. Or if watering into a pot without drainage holes to discard any excess water after watering.
During its growing season (spring and summer), you may need to water the plant more frequently. In fall and winter, reduce watering as the plant's growth slows down. Always check the moisture level in the soil before watering to avoid excess moisture.
Alocasia Polly prefers warm and humid conditions. The ideal temperature range is between 65°F to 80°F (18°C to 27°C). Keep the plant away from drafts, air conditioners, and heating vents, as temperature fluctuations can stress the plant.
Humidity is especially important for the Alocasia Polly. It thrives in high humidity levels, ideally 60% or higher. To maintain proper humidity, you can mist the plant regularly, use a humidity tray, or place a humidifier nearby. If the air is too dry, the tips of the leaves may begin to brown and dry out.
The Alocasia Polly requires well-draining, airy soil that retains moisture but doesn’t stay waterlogged. A good potting mix for houseplants or aroids works well, and you can add perlite or orchid bark to improve drainage.
To keep your plant healthy and encourage vigorous growth, fertilize it once a month during the growing season (spring and summer) with a balanced, water-soluble fertilizer. Avoid fertilizing in the fall and winter, as the plant's growth slows down during these months.
While the Alocasia Polly doesn’t require much pruning, you can remove any dead, dried or yellowing leaves to maintain its appearance and prevent the spread of disease. The plant’s large, leaves can sometimes become dusty, so gently wipe them with a damp cloth to keep them clean and free from dust. This will also help the plant better absorb light.
Alocasia Polly tends to grow quickly, so you may need to repot it every 1-2 years or when it becomes root-bound. Choose a pot that is 1 to 2 inches larger in diameter than the current one, and make sure it has drainage holes. Use fresh, well-draining soil to help promote healthy root growth. Repotting is best done during the spring or early summer when the plant is actively growing.
Unfortunately, Alocasia Polly is not pet-safe. Like many other plants in the Araceae family, it contains calcium oxalate crystals, which can be toxic to pets if ingested. If you have pets, keep this plant out of their reach or consider choosing a safer alternative.
The Alocasia Polly can be propagated through division. To propagate, carefully remove the plant from its pot and separate the rhizomes (underground stems) into smaller sections, ensuring each section has at least one healthy leaf and root system. Plant each section into a new pot with fresh soil and water it well. Keep the new plants in a warm, humid environment until they establish themselves.